Mouseover For Labels I spent way too much time on this animation, so I am using it on as many pages as possible. You're welcome.
Calculate/Design
Design your system using the simulator.
Fill in what you know, leave the rest on defaults.
Simulate your design to figure out the minium number of panels required.
The sim will estimate the yearly cost of power used for water heating.
Look at your water heater and figure out what kind of fittings you will need to install
mixing valve.
You can use the spreadsheet under BOM to pick out parts to order and calculate
your payback time.
Don't get stuck in Analysis paralysis, even hooking panels directly to the heater element with no MPPT can work.
Order Materials
Check out the example parts listed on the BOM page
Try to find a local panel supplier to avoid freight charges. Used panels are fine if they
all match.
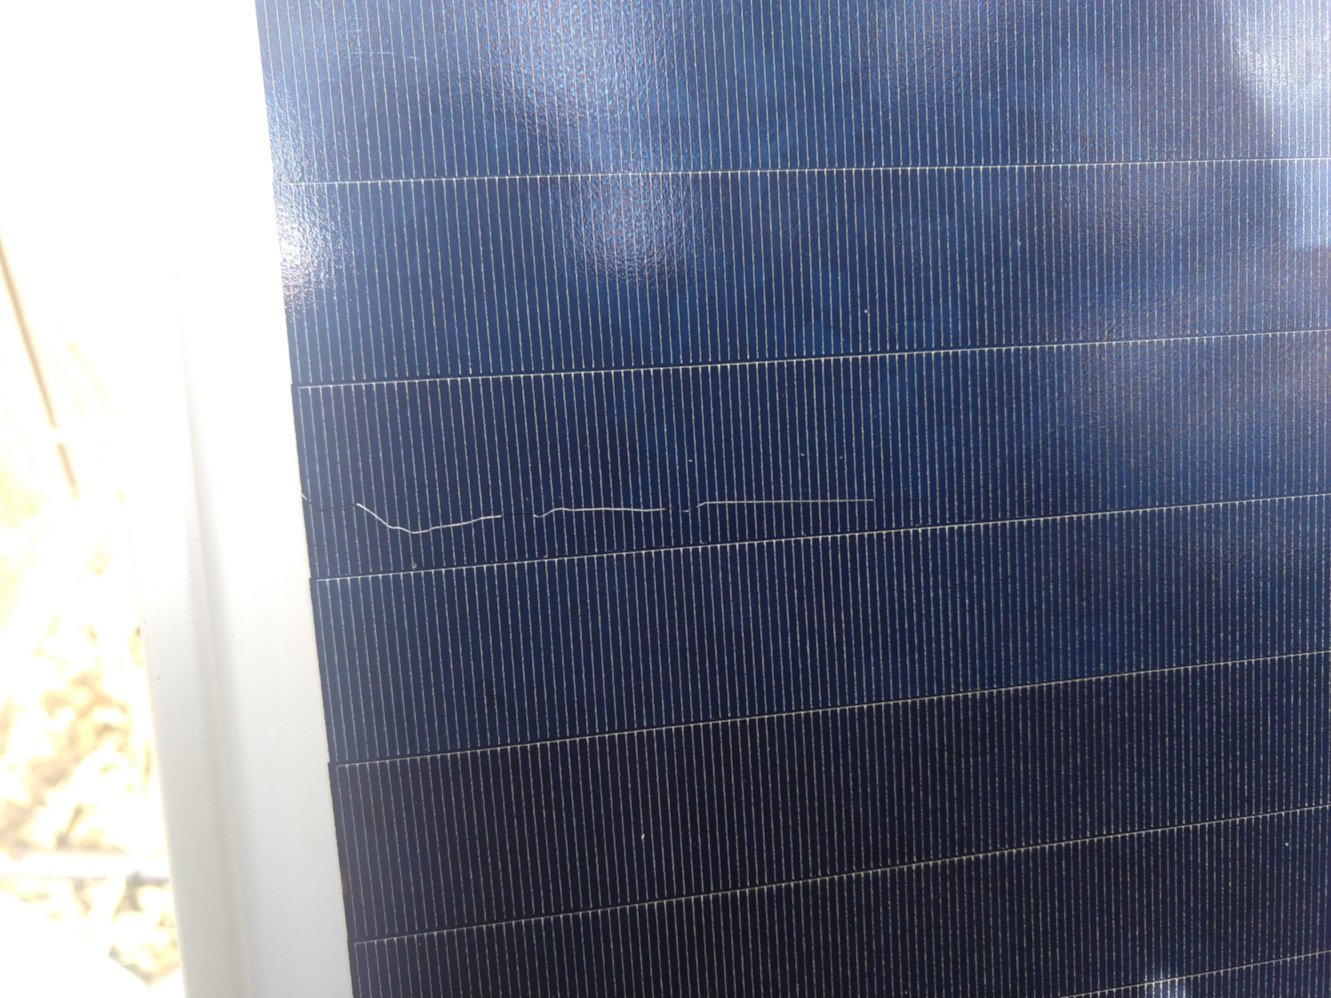
The panels are quite tough on the front glass side, but easily damaged on the back plastic covered side. A
damaged cell will limit the current of the entire array, so you may want to buy a spare panel.
Make sure to wear clothes with no buttons and no belt buckle when moving/installing the panels.
Special Tools you may need:
DC clamp meter
Water Heater Element Wrench
MC4 Crimper set
Pipe Soldering Tools
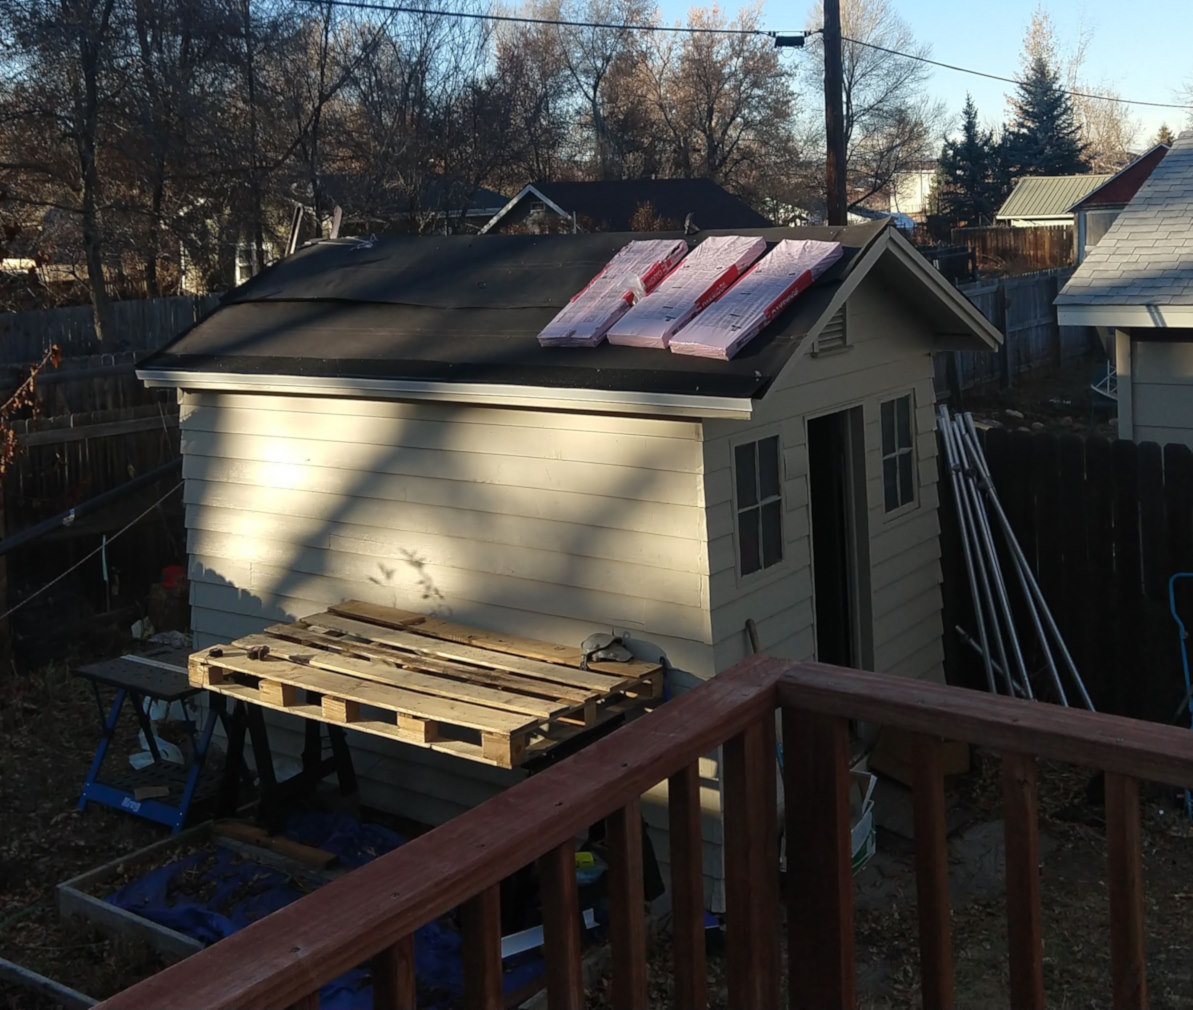
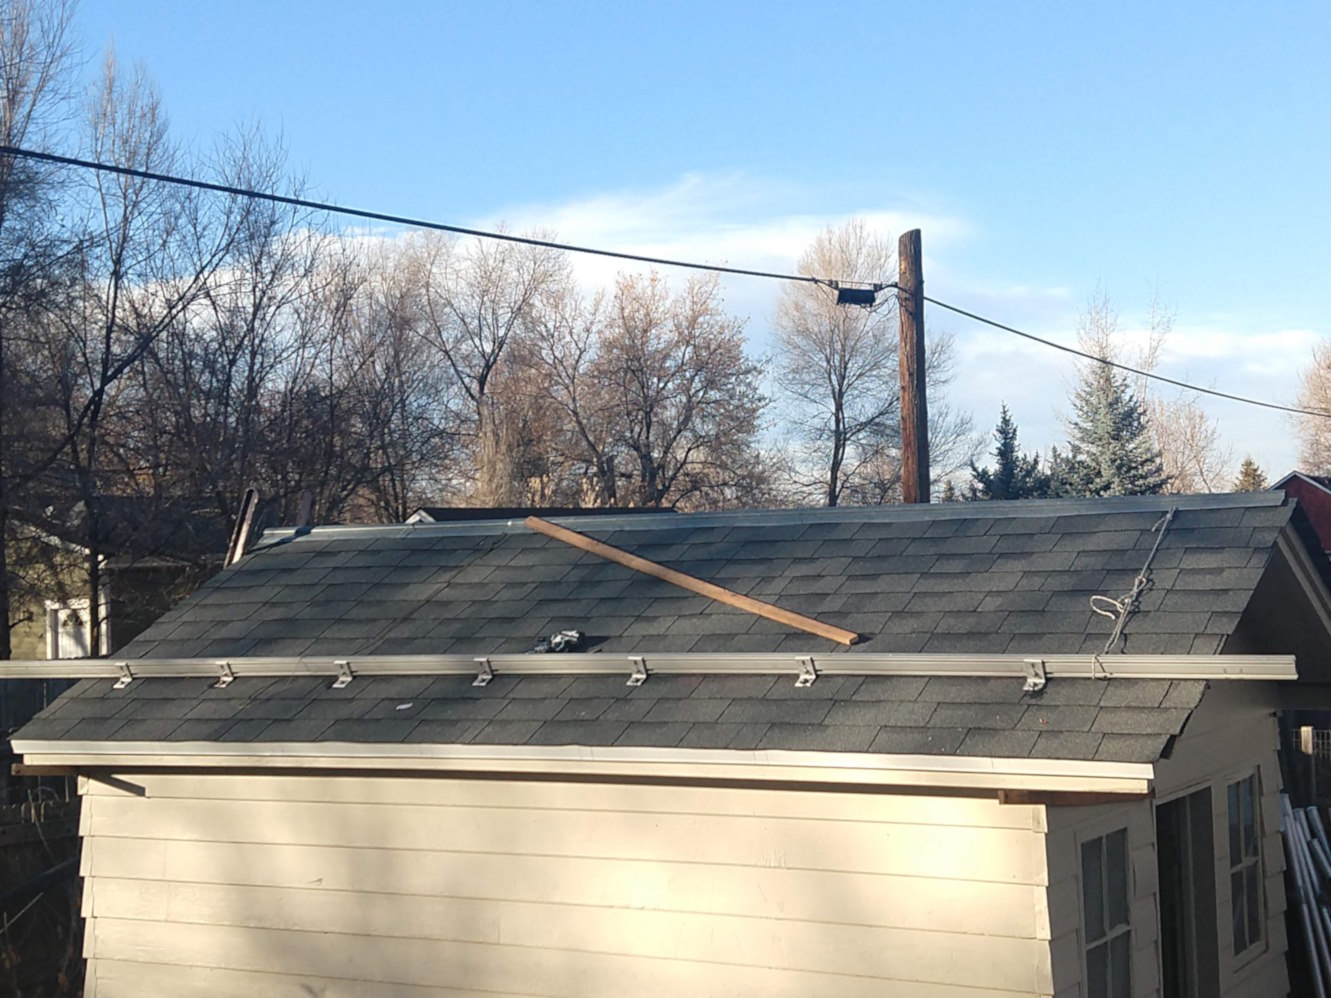
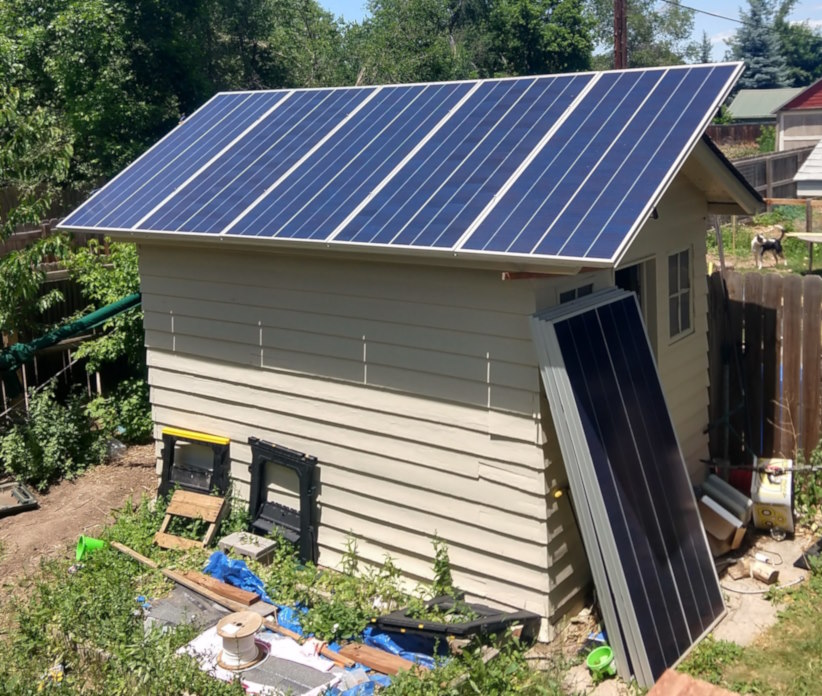
Install Panels
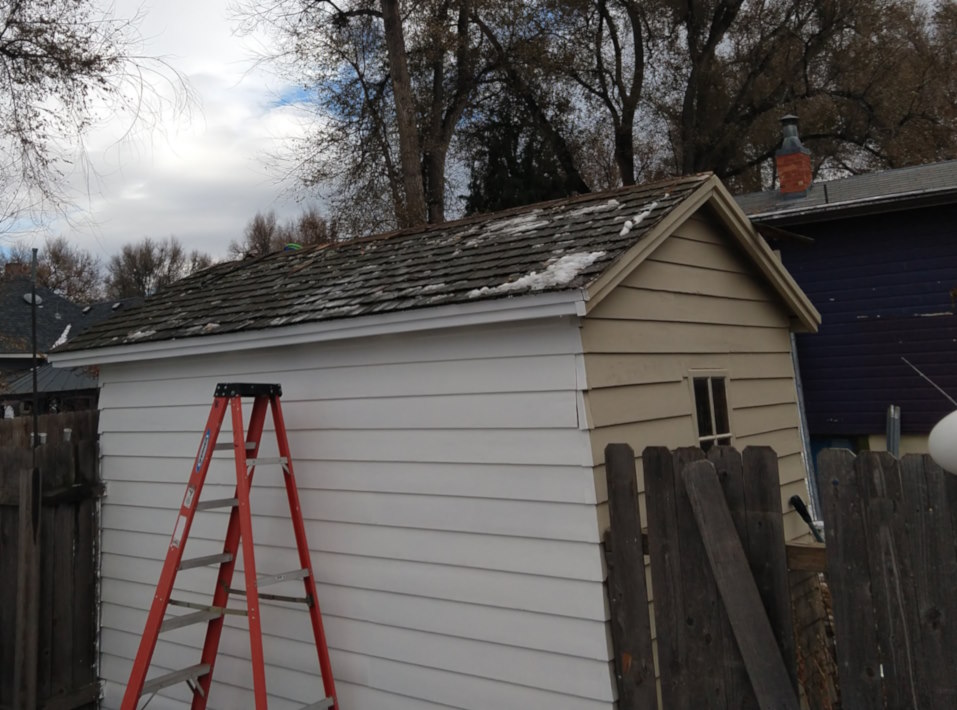
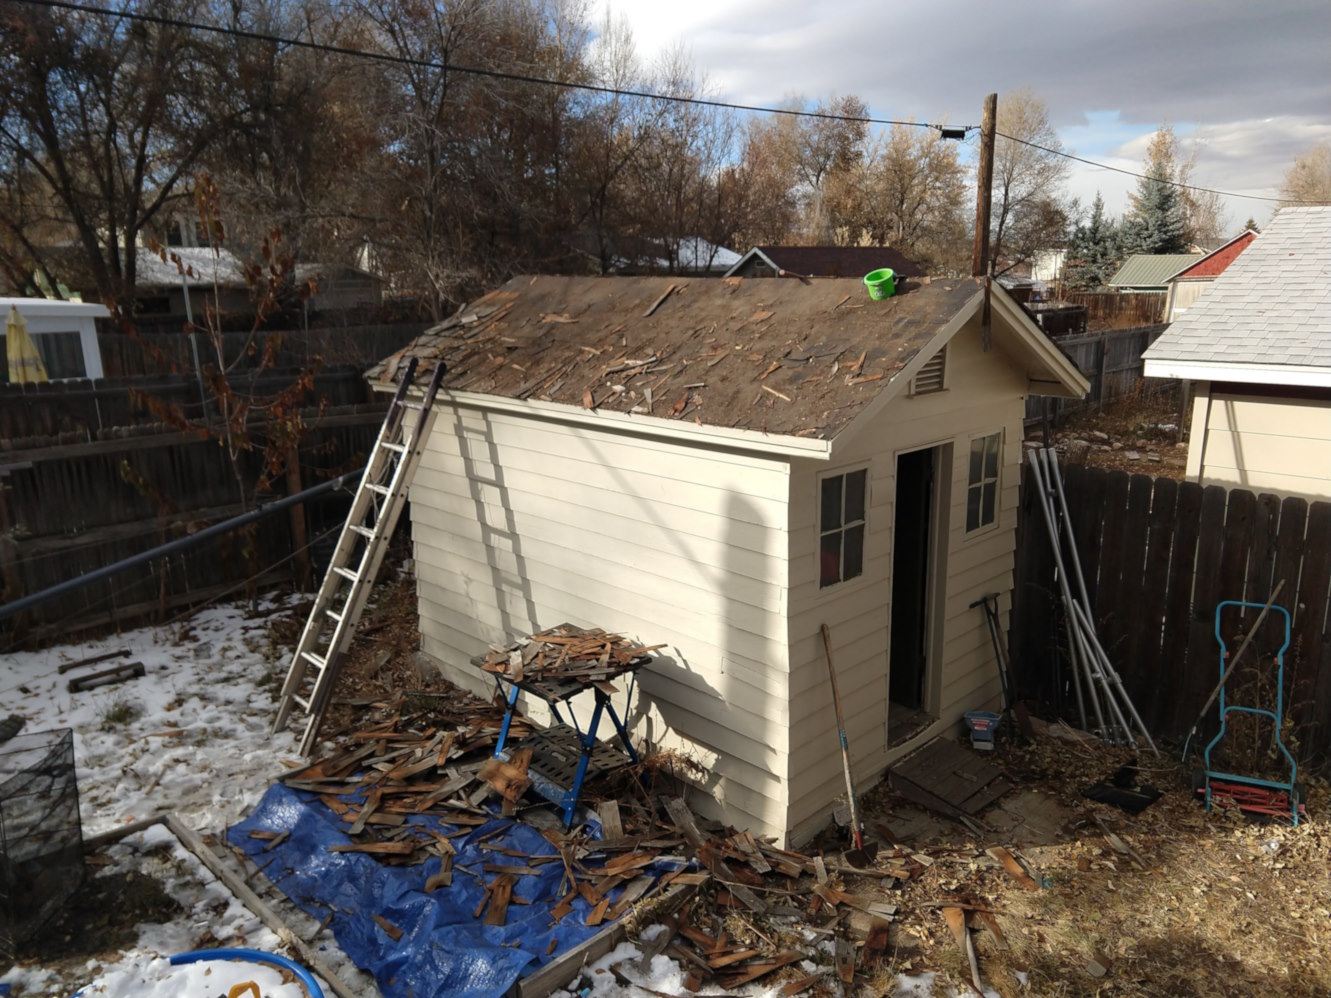
Replace the shingles first if they are in bad shape.
Install Roof anchors.
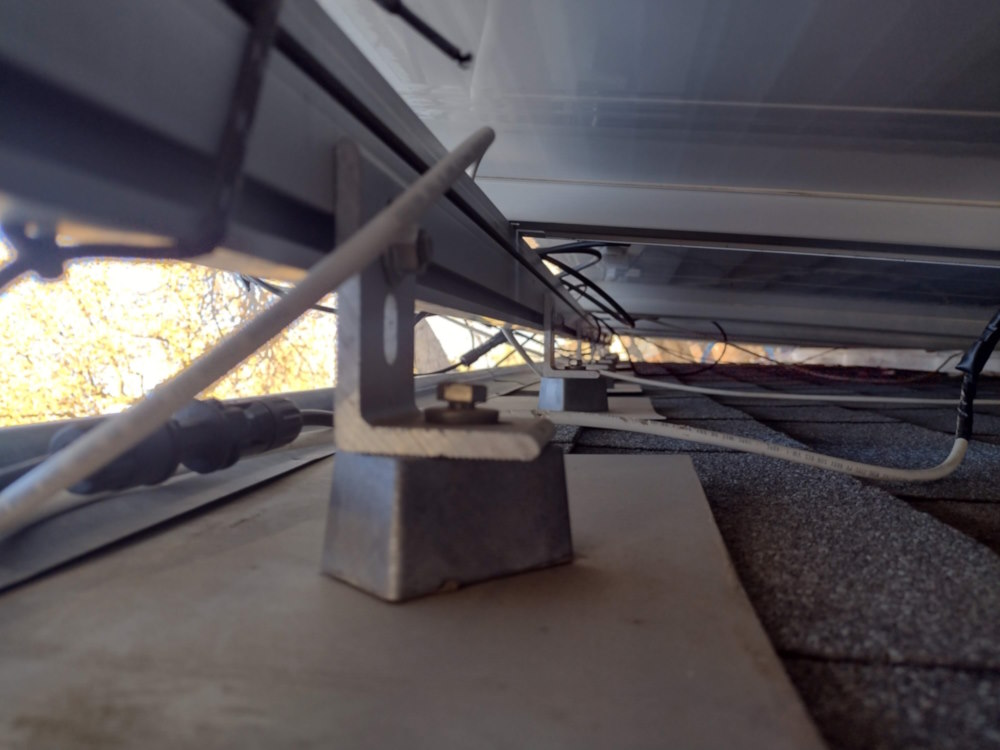
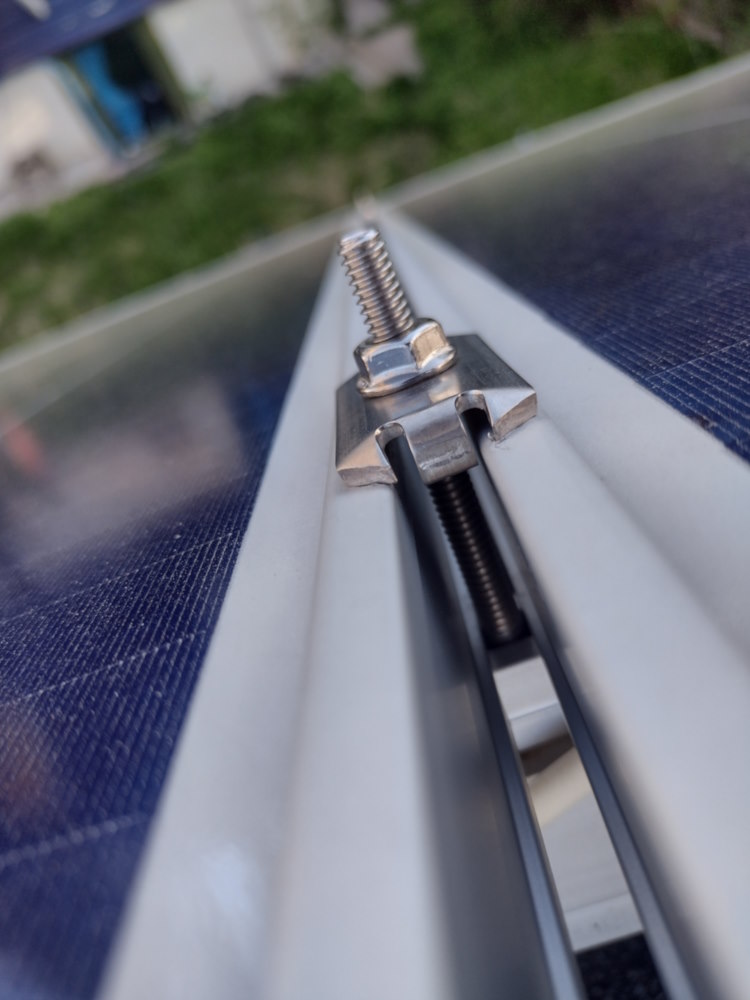
Attach Rails to anchors. Use anti-seize on stainless hardware.
Attach Panels to rails.
Attach grounding system.
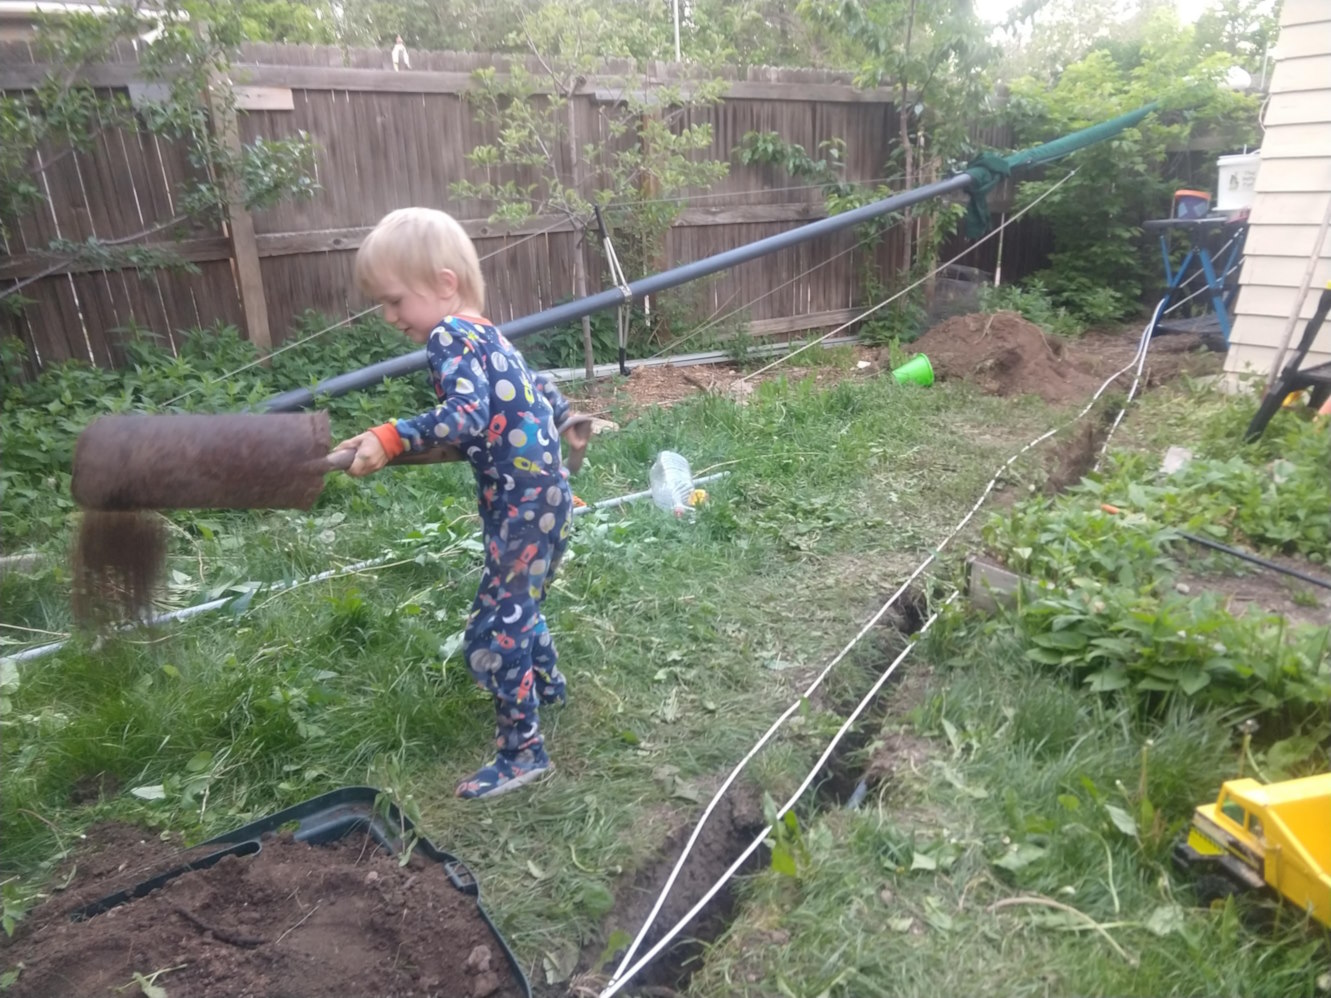
Trench in plastic conduit from panels to house.
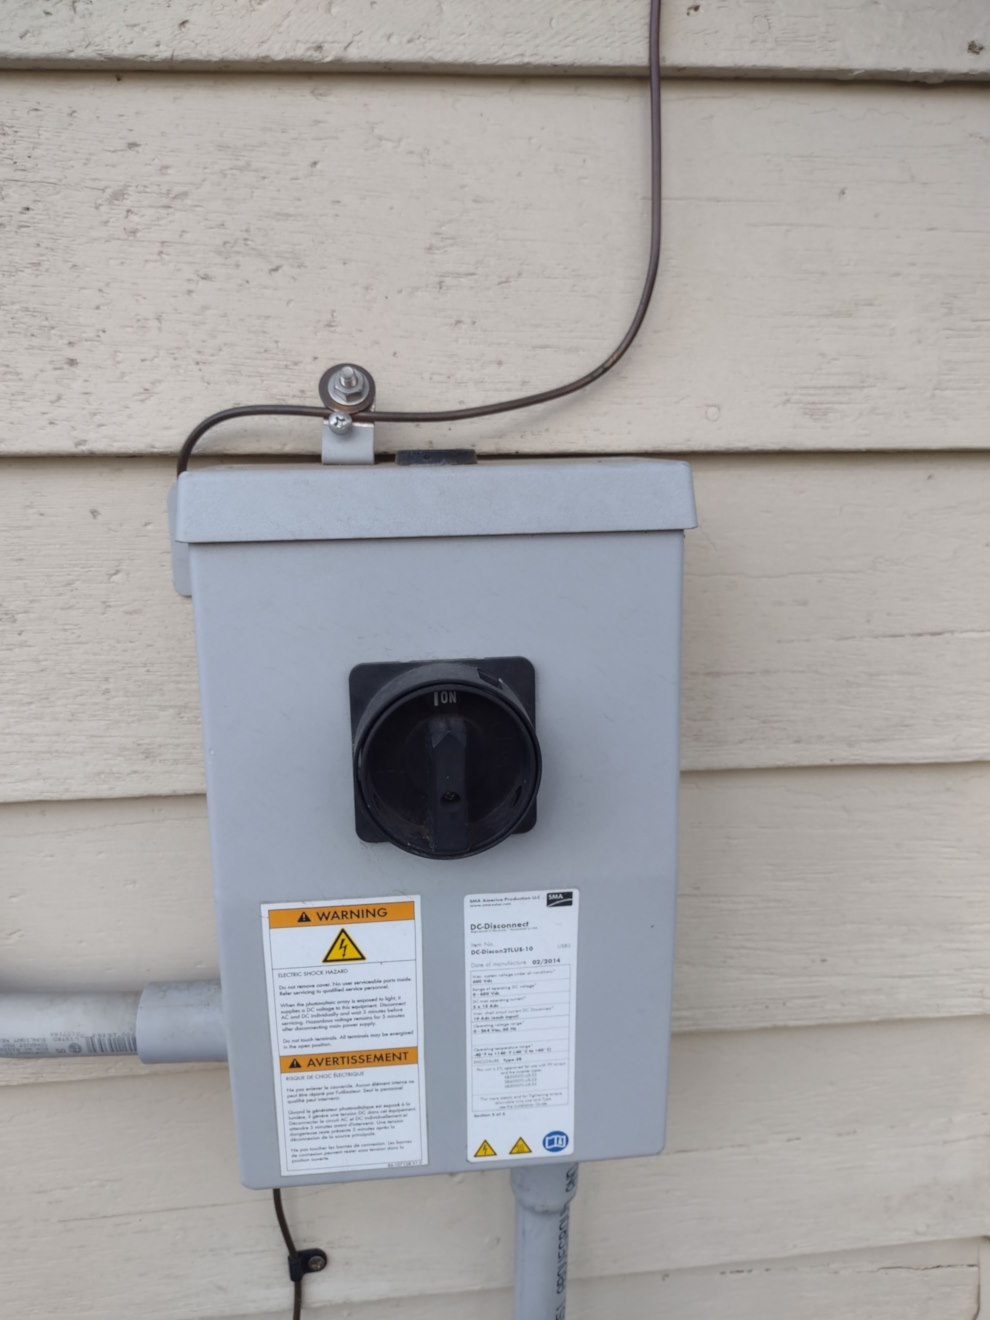
Pull wire through conduit and connect it to the outdoor disconnect switch
Turn off disconnect switch, lock it out and/or finish wiring at night
Working on solar wiring is safe at night, just don't fall off the roof in the dark
Indoor Work
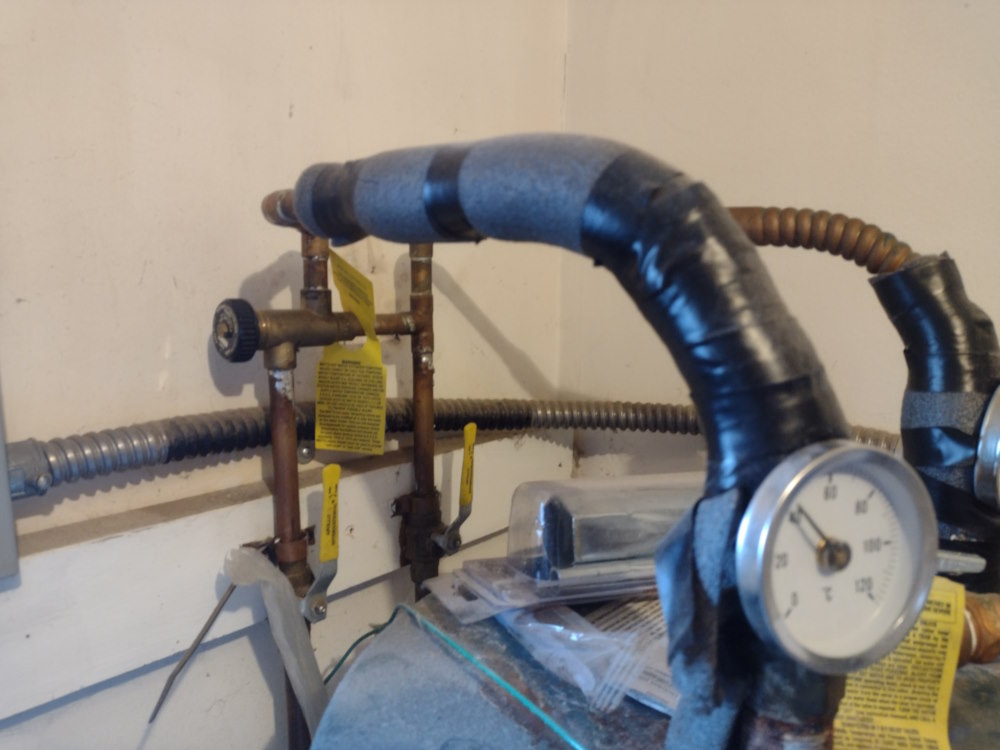
Drill hole in wall near water heater and mount a Type-LB Conduit Body on each side as
passthrough.
Install indoor conduit as required. (just use flex, so easy)
Install indoor shutoff switch.
Turn off power and cold water supply to water heater
Drain water heater
Install Mixing valve
Remove bottom element cover, take picture of wires for future reference.
Disconnect bottom element from city power and secure wires so they will not short out on
anything.
Install new bottom element (if needed).
Measure resistance of element and write it on water heater for future reference
Refill water heater.
Connect bottom element to indoor shutoff. (make sure there is water in there or you will
burn out the elements)
Finish wiring and button up what you can
Wait for daytime to Turn solar power switches on, Check for smoke.
You can safely measure current with a DC clamp Meter. Only clamp one wire or else they will
cancel out.
P = I2R
Turn city power back on to top element.
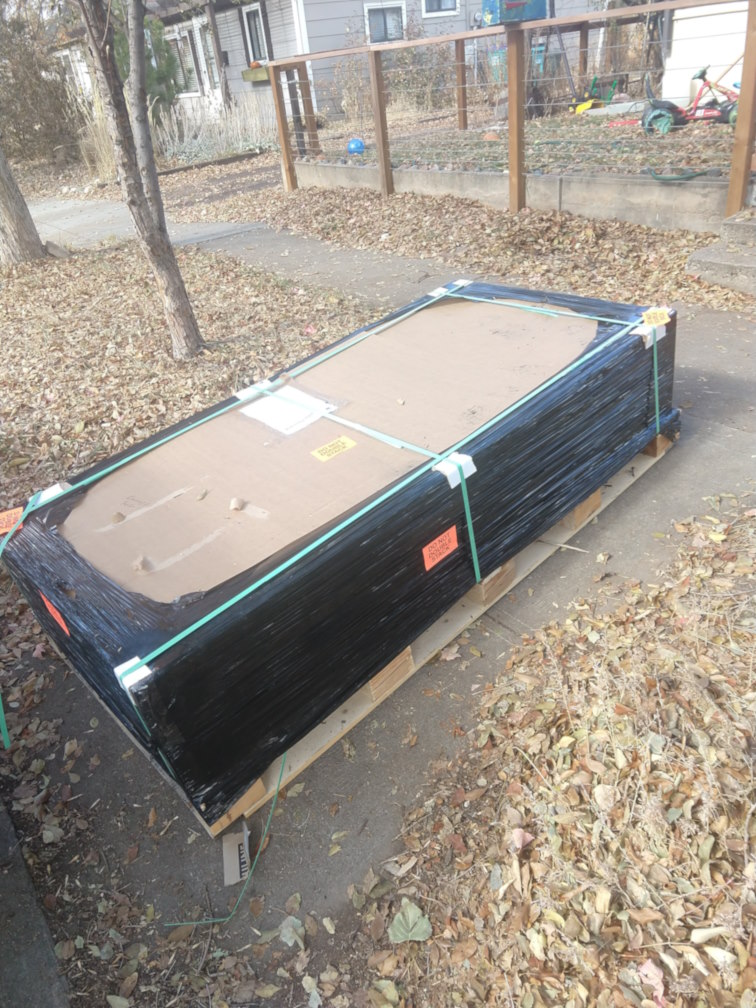
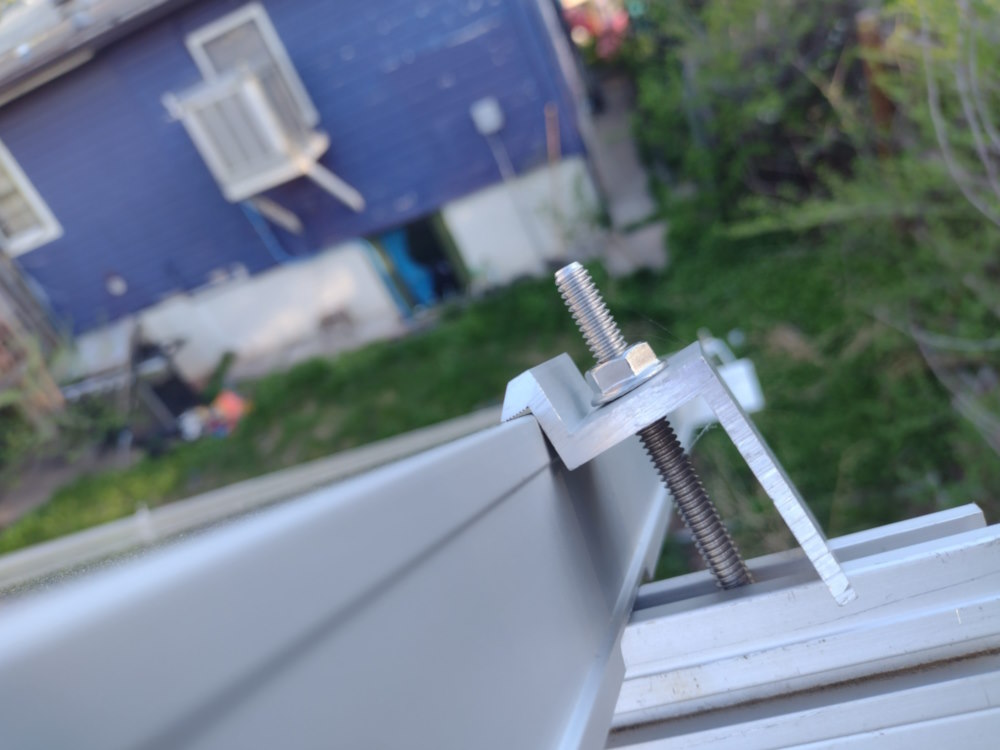
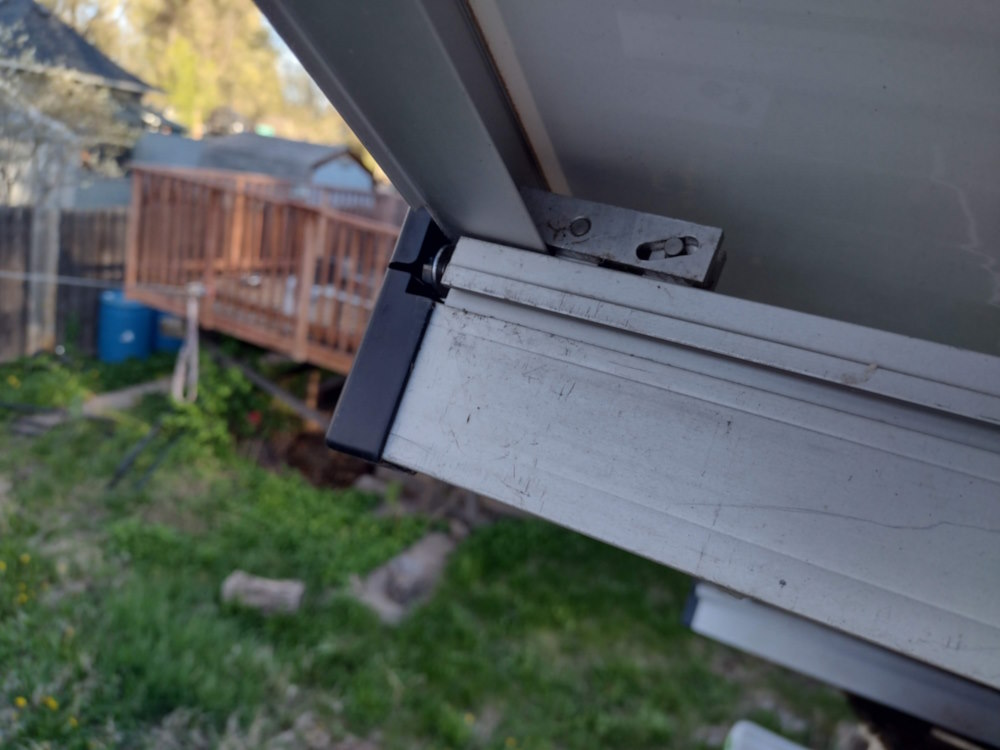
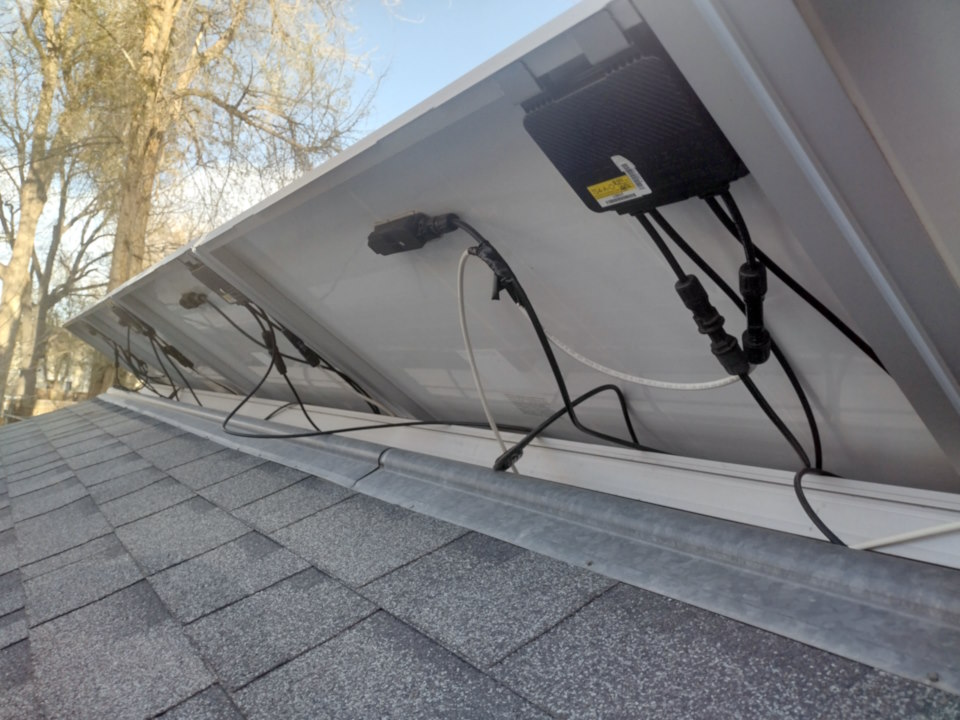
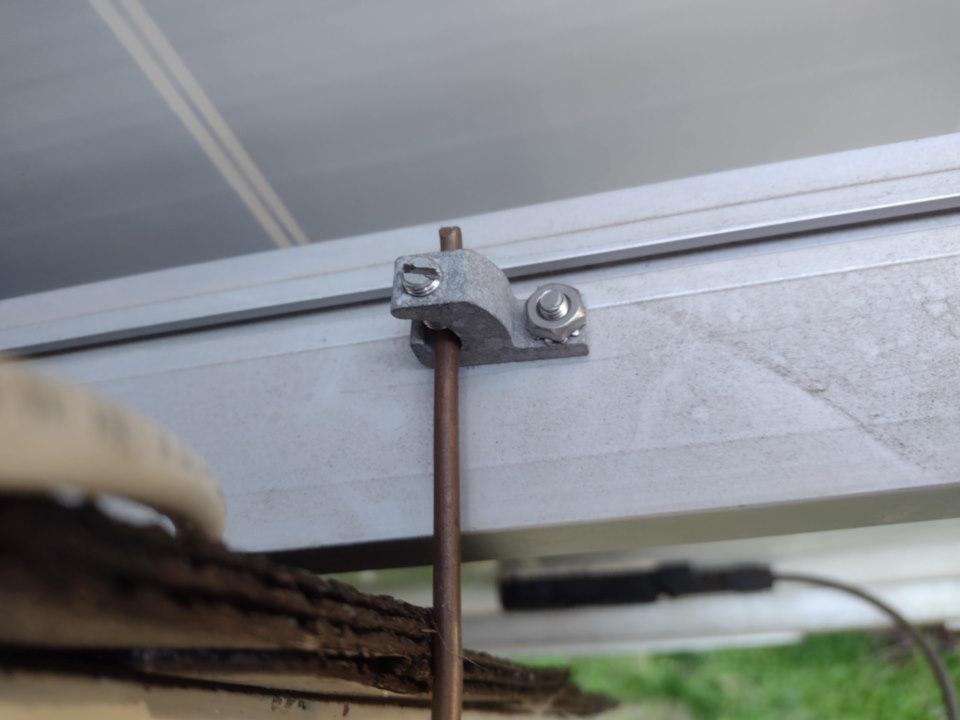
Freight shipment of panels laying in streetCheck for broken Cells, Don't use panel if it has broken cells. Scraping the back of a panel on your belt buckle will easily break a cell.Old leaky wood shingles not good for solarStripping off old shinglesPanels will hide shingles, so slap em on as crooked as you likeLay out the rails, bolt them to raftersThese lag bolts can loosen up over time. Make sure they are tight so the wind does not thrash
the panels around.This is a middle-type holddown bolt, holds down two panels.This is cheap-o end holddown type that is not quite the right size.This is a fancy no-show end holddown so the neighbors know you are classy.You can install solar optimizers if you have partial shade issues.Don't forget to install your lightning protection.Always utilize child labor when digging ditches for conduitMake sure you keep that switch turned off while you are messing with the wires!Collecting Photons? Yes. Cleaning yard before taking picture? No.Install a thermostatic mixing valve near the water heaterLook at that Sweet Sweet HVDC power. (No Touching!)